Managing your funds should be seamless. Whether you are checking a recent giveaway or confirming a utility payment, accessing your transaction history on Supacash is straightforward.
Follow this simple guide to view and filter your activity across your various wallets.
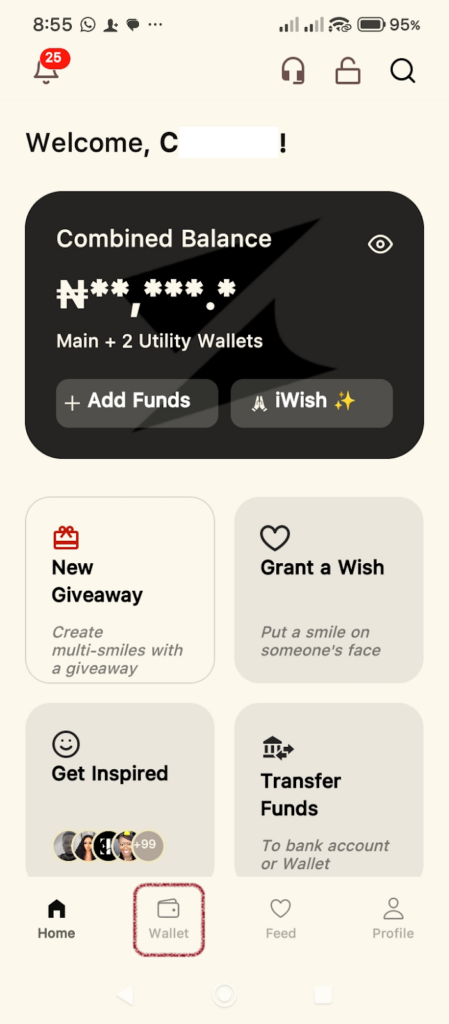
Step 1: Navigate to the Wallet Tab
Once you open the Supacash app, look at the bottom navigation bar. Tap on the Wallet icon (the second icon from the left). This will bring you to your balance overview screen.
Step 2: Access the Transactions Section
From the Wallet dashboard, scroll down past your balance cards and the action buttons (Transfer, Gifts, Mint, Tokens). You will see a dedicated Transactions section below.
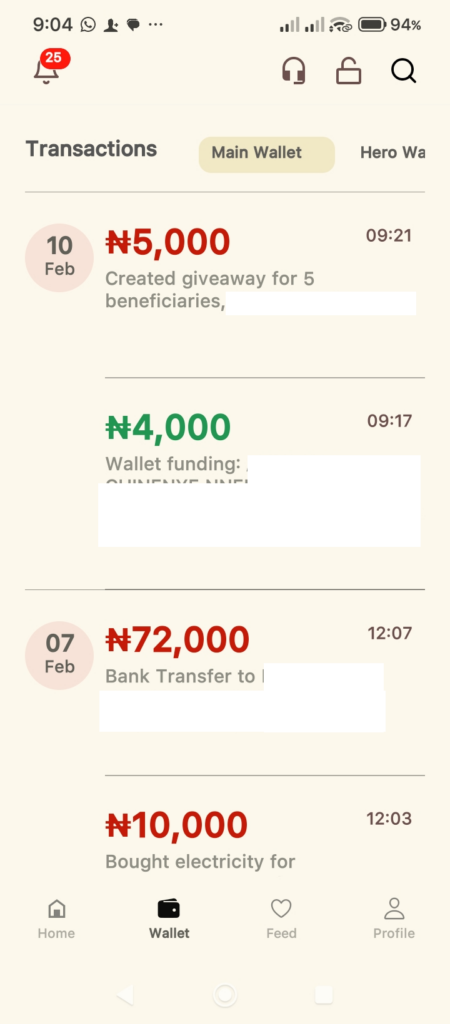
Step 3: Switch Between Wallets
Supacash allows you to view history specifically for each of your wallets. Just above the list of transactions, you will see a horizontal menu with tabs representing the different wallets you have. Simply tap on the name of the wallet you wish to audit.
Step 4: Review Your Activities
Your transactions are listed in chronological order. Each entry provides essential details at a glance:
- Amount: Displayed in Green for credits (inflow) and Red for debits (outflow).
- Description: Explains what the transaction was for.
- Date & Time: Located on the left (date) and right (time) of each entry to help you track exactly when a movement occurred.
Quick Tips for Better Tracking
Can’t find a transaction? Ensure you have selected the correct wallet tab at the top of the list. For example, a transfer from your Main Wallet to your Airtime Wallet will appear as a debit in Main Wallet and a credit in Airtime Wallet.